
From the workbench
3D Printing FAQs
New to 3D printing? Start with the basics, then see how Christian puts them into practice on the Tiny Toys workbench.
A typical project starts with a digital model. A slicer prepares it for the printer, which builds the object layer by layer. The last step is testing it to see what works and what needs another go.
Getting started
What is 3D printing?
3D printing makes a physical object from a digital model. Christian’s filament printer feeds plastic through a heated nozzle and lays it down in thin layers, building the shape from the bottom up.
What printer does Christian use?
Christian uses a Bambu Lab A1 mini. It’s a desktop filament printer, with a build area of 180 × 180 × 180 mm. Bigger designs can sometimes be split into smaller parts and assembled after printing.
What is a slicer?
A slicer turns a 3D model into instructions the printer can follow. It shows you each layer, estimates how much filament and time you’ll need, and lets you preview settings such as supports and layer height.
Do I have to design my own model?
You can start with an existing model and check its licence, or make a simple design of your own. The Relief-Printing Stamp is a good example of starting with a simple shape and refining it after a test print.
What is PLA filament?
PLA is a common material for filament printers and a useful starting point for many small models. Think about what the object has to do before choosing a material. For example, the Low-Poly Planter uses a separate tray, and printed layers can still let water through.
Printing and testing
How long does a print take?
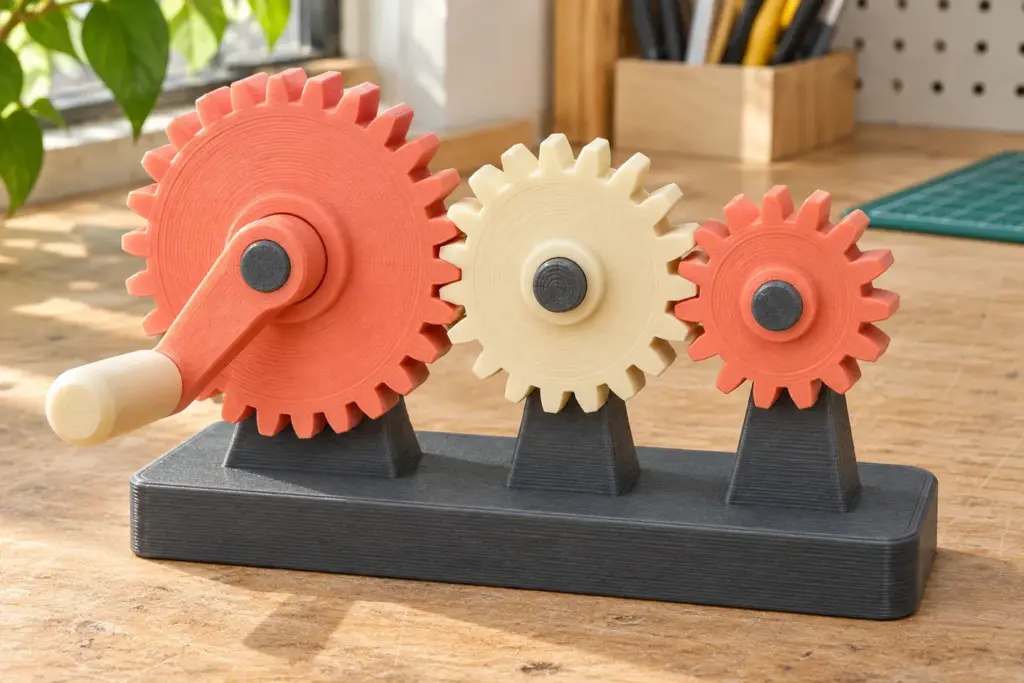
It depends on the size, layer height, amount of material inside the print, and the printer settings. A small test piece can be much faster than a whole model. Compare the print notes on the Snap-On Cable Tidy and the Hand-Cranked Gear Demonstrator.
What are supports, and when do I need them?
Supports are temporary structures under parts of a model that would otherwise print over empty space. They’re removed after printing. Rotating the model or changing its shape can sometimes reduce how many supports it needs.
How do you print something that moves?
Some models have moving parts that print together, like the Articulated Desk Dragon. Small gaps keep its links from fusing. Other designs use parts printed separately and assembled later, like the gear demonstrator.
Why don’t two printed parts always fit?
Parts that line up on screen can come out slightly tighter or looser than expected. The Snap-Fit Puzzle Cube shows why it helps to print a small version of the join and compare a few different clearances first.
What can I learn from a failed print?
Look at where it went wrong. Did it lift from the bed, stop partway through, or print fine but fail to fit? Change one thing at a time and try a smaller test. The Cable Tidy build notes show how to test a clip’s fit before printing the full piece.